Amazon EC2 (Elastic Compute Cloud) is a web service that provides resizable compute capacity in the cloud. It is designed to make web-scale cloud computing easier for developers.
1. What is Amazon EC2?
Amazon EC2 provides scalable computing capacity in the Amazon Web Services (AWS) cloud. Using EC2 eliminates the need to invest in hardware upfront, allowing you to develop and deploy applications faster. You can use Amazon EC2 to launch as many or as few virtual servers as you need, configure security and networking, and manage storage.
2. Key Features of Amazon EC2
- Elasticity: Easily scale your applications up or down based on demand.
- Flexibility: Choose from various instance types optimized for different use cases.
- Control: Full control over your instances, including root access.
- Integration: Seamlessly integrate with other AWS services.
- Cost-Effective: Pay only for what you use with several pricing models.
3. EC2 Instance Types
Amazon EC2 offers a wide range of instance types tailored to different use cases. Here are some of the primary instance families:
- General Purpose: Balanced compute, memory, and networking resources (e.g., T3, M5).
- Compute Optimized: High-performance processors (e.g., C5).
- Memory Optimized: Ideal for memory-intensive applications (e.g., R5).
- Storage Optimized: High, sequential read and write access to large datasets (e.g., I3).
- Accelerated Computing: Hardware accelerators like GPUs (e.g., P3).
4. EC2 Pricing Models
Amazon EC2 offers several pricing models to accommodate different use cases and budget requirements:
- On-Demand Instances: Pay for compute capacity by the hour or second with no long-term commitments.
- Reserved Instances: Commit to using EC2 over a 1- or 3-year term to receive a significant discount.
- Spot Instances: Bid for unused EC2 capacity at a lower price, suitable for flexible start and end times.
- Dedicated Hosts: Physical servers dedicated for your use.
5. Launching an EC2 Instance: Step-by-Step Guide
Step 1: Log in to the AWS Management Console
Navigate to the AWS Management Console.
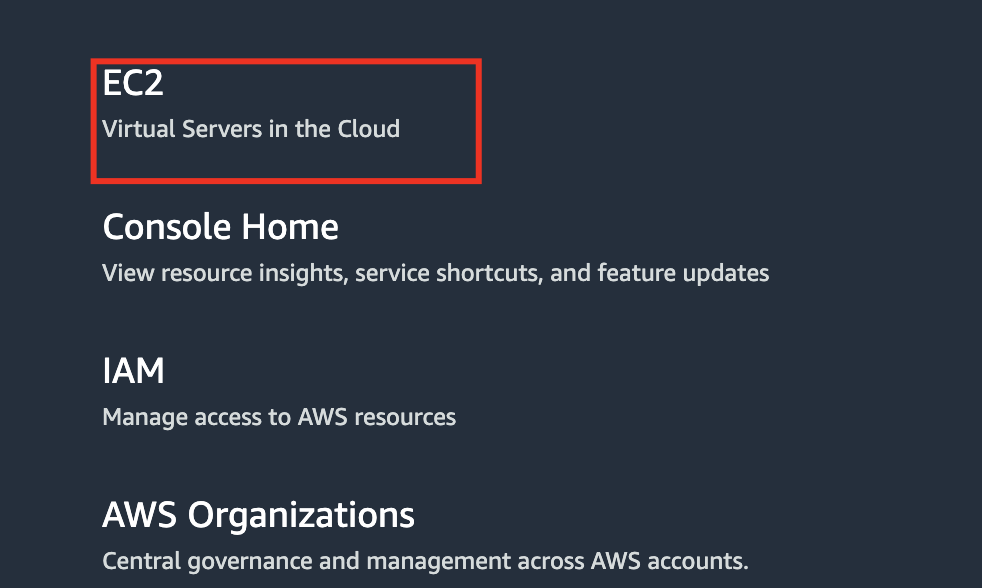
Step 2: Select EC2
From the console dashboard, click on “EC2” under the Compute section.
Step 3: Launch Instance
Click the “Launch Instance” button.
Step 4: Choose an Amazon Machine Image (AMI)
Select an AMI, which is a template that contains the software configuration (operating system, application server, applications).
Step 5: Choose an Instance Type
Choose an instance type based on your needs. For this example, we’ll use the t2.micro instance type.
Step 6: Configure Instance Details
Configure the instance details, such as the number of instances, network settings, IAM roles, and monitoring.
Step 7: Add Storage
Add storage volumes to your instance. By default, a root volume is created.
Step 8: Add Tags
Add tags to help you manage and identify your instances.
Step 9: Configure Security Group
A security group acts as a virtual firewall. Configure rules to allow specific traffic to your instance.
Step 10: Review and Launch
Review your settings and click “Launch.” You will be prompted to create or select a key pair for SSH access.
6. Working with Security Groups
Security groups act as a virtual firewall for your instance to control inbound and outbound traffic. You can specify allowed protocols, ports, and source IP ranges.
Example: Creating a Security Group
- In the EC2 dashboard, navigate to “Security Groups.”
- Click “Create Security Group.”
- Name your security group and add a description.
- Add rules to allow traffic. For example, allow SSH (port 22) from your IP.
7. Elastic IP Addresses
An Elastic IP address is a static IPv4 address designed for dynamic cloud computing. You can associate it with any instance in your account, allowing you to mask the failure of an instance by quickly remapping the address to another instance.
Example: Associating an Elastic IP
- In the EC2 dashboard, navigate to “Elastic IPs.”
- Click “Allocate Elastic IP address.”
- Select your instance and associate the IP address.
8. EC2 Auto Scaling
Auto Scaling helps maintain application availability by automatically adding or removing EC2 instances based on demand. You can create scaling policies that adjust the number of instances based on CloudWatch metrics.
Example: Creating an Auto Scaling Group
- In the EC2 dashboard, navigate to “Auto Scaling Groups.”
- Click “Create Auto Scaling group.”
- Configure group details, such as instance type, AMI, and desired capacity.
- Set up scaling policies based on metrics like CPU utilization.
9. Practical Examples
Example 1: Hosting a Web Server
- Launch a
t2.microinstance with an Ubuntu AMI. - SSH into the instance and install Apache:
   sudo apt update
sudo apt install apache2- Configure security group to allow HTTP (port 80) traffic.
- Access the web server using the instance’s public IP.
Example 2: Running a Python Script
- Launch an instance with an appropriate AMI.
- SSH into the instance and install Python:
   sudo apt update
sudo apt install python3- Upload your Python script to the instance using SCP.
- Run the script:
python3 your_script.py10. Conclusion
Amazon EC2 is a powerful and flexible service that enables scalable cloud computing. Understanding its key features, instance types, pricing models, and how to launch and manage instances will prepare you for most interview questions. With practical examples and hands-on experience, you can demonstrate your knowledge and proficiency in using EC2.
Remember to experiment with different configurations and practice deploying applications to become comfortable with the EC2 environment. Happy learning!
![]()