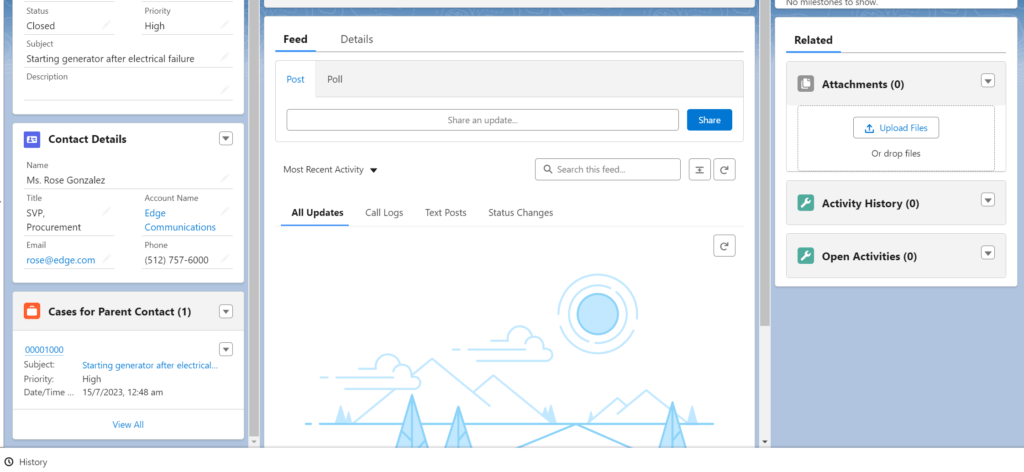
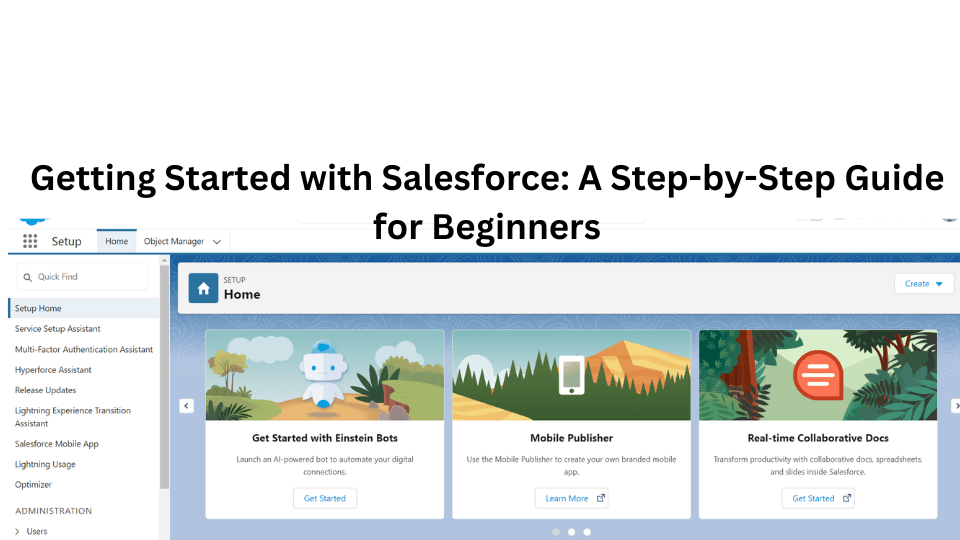
Welcome to the world of Salesforce! If you’re new to this powerful Customer Relationship Management (CRM) platform, you’re in for a treat. Salesforce empowers businesses to manage their customer relationships effectively, streamline processes, and drive growth. In this comprehensive beginner’s guide, we’ll walk you through each essential step to get started with Salesforce. Let’s dive in!
Step 1: Sign up for a Salesforce Account
To begin your Salesforce journey, you’ll need to sign up for a Salesforce account. Follow these steps to get started:
- Visit Salesforce’s Official Website: Go to Salesforce’s official website at https://www.salesforce.com/ and click on the “Get Started” or “Free Trial” button. This will take you to the sign-up page.
- Choose Your Edition: Salesforce offers various editions to cater to different business needs. For beginners, the “Salesforce Essentials” edition is a great starting point. Click on the “Try for Free” button under the Salesforce Essentials section.
- Fill Out the Sign-Up Form: Complete the sign-up form with your name, email address, company name, and other required information. Create a unique username and password for your Salesforce account.
- Verify Your Email: After submitting the form, Salesforce will send a verification email to the address you provided. Click on the verification link in the email to complete the sign-up process.
- Explore the Welcome Guide: Once your account is verified, Salesforce will provide you with a welcome guide to help you get started. Take some time to go through the guide, as it contains useful information on navigating Salesforce and accessing essential resources.
Congratulations! You now have a Salesforce account, and you can log in to explore the platform.
Step 2: Navigating the Salesforce Interface
Once you’re logged in, the Salesforce interface may look a bit overwhelming at first. But don’t worry, we’ll help you get acquainted with the key components:
- App Launcher: The App Launcher icon (a grid of nine squares) is located at the top-left corner of the screen. Click on it to access various Salesforce apps, such as Sales, Service, Marketing, and more. The App Launcher makes it easy to switch between different modules and functionalities.
- Tabs and Navigation Bar: The tabs across the top of the screen represent different modules or apps within Salesforce. For example, you’ll find tabs like “Home,” “Accounts,” “Contacts,” and “Opportunities.” Clicking on a tab will open its corresponding records and features. Use the navigation bar to quickly move between different pages and sections within Salesforce.
- Object-Specific Tabs: Some tabs, like “Accounts” and “Contacts,” have sub-tabs or object-specific tabs. These tabs display a list of records for the respective objects. For example, the “Accounts” tab might have sub-tabs for “All Accounts,” “Recently Viewed,” and “My Accounts.”
- Search Bar: The search bar at the top of the screen allows you to search for specific records, objects, or keywords within Salesforce. Simply type your search term and press “Enter” to view relevant results.
- Global Actions and Shortcuts: To the right of the search bar, you’ll find global actions and shortcuts. These provide quick access to frequently used features, such as creating a new record or logging a call.
- Setup Menu: The gear icon (Setup) in the top-right corner gives you access to the setup menu, where you can customize Salesforce according to your business needs. We’ll explore this in more detail in the next step.
Step 3: Creating Custom Objects
Custom objects allow you to store specific data unique to your business processes. Let’s create a simple custom object:
- Access the Setup Menu: Click on the gear icon (Setup) in the top-right corner and select “Setup” from the dropdown menu. The Setup menu is a centralized location where you can configure and customize Salesforce.
- In the Setup Menu, Navigate to “Object Manager”: Under “Platform Tools,” click on “Object Manager” to access the list of existing objects and create new ones. The Object Manager is where you manage custom and standard objects in Salesforce.
- Create a New Custom Object: Click on the “New Custom Object” button to begin creating your custom object. You’ll be presented with a form to define the object’s properties.
- Define Object Properties: Give your custom object a name in the “Object Label” field (e.g., “Projects”). Salesforce will automatically generate an API name based on the object label. The “Record Name” field defines the name of the unique identifier for each record in the custom object (e.g., “Project Name”). Other settings, such as record name format, sharing settings, and object description, can be configured to suit your requirements.
- Customize Page Layouts: Page layouts determine the arrangement of fields, related lists, and buttons on a record’s detail page. After creating a custom object, you can customize its page layout to display the relevant information for your business processes.
- Save the Custom Object: Click “Save” to create your custom object. It will now be available for use, and you can start adding records to it.

Step 4: Setting Up Basic Workflows
Salesforce workflows automate routine tasks and processes. Let’s set up a basic workflow rule:
- Access Workflow Rules: In the Setup menu, under “Automation,” click on “Workflow Rules.” This will take you to the Workflow Rules page, where you can view existing rules and create new ones.
- Create a New Workflow Rule: Click on the “New Rule” button and select the object for which you want to create the rule (e.g., “Projects”). The rule will apply to records of the selected object that meet specific criteria.
- Set the Rule Criteria: Define the rule criteria based on the conditions that trigger the workflow. For example, you might create a rule that triggers when the project status is “Completed.” Salesforce allows you to set multiple criteria to fine-tune when the rule is activated.
- Specify the Immediate and Time-Dependent Actions: Once the rule criteria are met, you can choose what actions Salesforce should take. Immediate actions occur as soon as the rule criteria are met, while time-dependent actions occur at a specified time in the future. Common actions include creating a task, sending an email alert, updating a field value, or triggering another workflow rule.
- Activate the Workflow Rule: Review your settings and activate the workflow rule. Once activated, the rule will automatically execute when the specified criteria are met for records of the chosen object.
Step 5: Data Management in Salesforce
An integral part of using Salesforce effectively is managing your data efficiently. Salesforce offers robust data management capabilities to ensure that your information is accurate, organized, and accessible. Let’s delve into some essential data management features:
- Importing Data: If you have existing customer data in spreadsheets or other systems, you can easily import it into Salesforce. Use the Data Import Wizard or Data Loader to map your data fields and ensure a smooth transfer of information.
- Data Deduplication: Salesforce helps you identify and merge duplicate records to maintain a clean and reliable database. By eliminating duplicates, you avoid confusion and provide a unified view of each customer.
- Data Validation Rules: Create validation rules to ensure that data entered into Salesforce meets specific criteria. For example, you can set rules to enforce a valid email format or a required field.
- Data Security and Sharing Settings: Define data security and sharing settings to control who can access and modify specific records and data in Salesforce. This ensures that sensitive information is only accessible to authorized users.
- Data Backup and Recovery: Salesforce automatically backs up your data, providing a safety net in case of accidental data loss. You can also schedule regular backups for additional peace of mind.
Step 6: Reports and Dashboards
Salesforce offers powerful reporting and analytics tools that allow you to gain valuable insights into your business performance. Let’s explore how to create reports and dashboards:
- Create a Report: Click on the “Reports” tab and select “New Report.” Choose the object you want to report on (e.g., “Opportunities”) and define the report criteria. Salesforce provides a user-friendly drag-and-drop interface to customize your report’s columns and filters.
- Save and Run the Report: Once your report is set up, click “Save” and give it a descriptive name. You can run the report instantly or schedule it to run at specific intervals.
- Create a Dashboard: Dashboards provide a visual representation of your key performance indicators (KPIs) and reports. Click on the “Dashboard” tab and select “New Dashboard.” Add the reports you want to include in the dashboard, arrange them, and save the dashboard.
- Share Reports and Dashboards: Share your reports and dashboards with colleagues to collaborate and make data-driven decisions together. You can control the visibility and access level of shared reports and dashboards.
Step 7: Ongoing Learning with Salesforce Trailhead
As you continue your Salesforce journey, there’s always more to learn and explore. Salesforce Trailhead is your ultimate companion for continuous learning and skill development. Here’s how you can make the most of Trailhead:
- Explore Learning Paths: Trailhead offers guided learning paths that cater to users of all skill levels, from beginners to advanced administrators and developers. Choose a path that aligns with your goals and interests.
- Earn Badges and Certifications: Complete modules and projects to earn badges that validate your skills. Additionally, you can pursue Salesforce certifications to showcase your expertise and boost your career opportunities.
- Participate in Trailhead Quests: Trailhead Quests offer interactive challenges that test your knowledge and problem-solving abilities. Engage in fun and rewarding activities to reinforce your learning.
- Join the Trailblazer Community: Connect with a diverse community of Salesforce enthusiasts, administrators, developers, and experts. Participate in forums, attend events, and learn from the experiences of fellow Trailblazers.
Congratulations on reaching the end of this comprehensive guide to getting started with Salesforce! We covered data management, creating reports and dashboards, and the importance of continuous learning through Salesforce Trailhead.
Remember, Salesforce is a versatile platform that can be tailored to your business’s specific needs. As you continue to explore Salesforce, you’ll discover countless features and possibilities to elevate your customer relationships and drive business success.
Now it’s time to unleash the full potential of Salesforce and transform the way you engage with your customers. Happy Salesforce Trailblazing!
![]()
